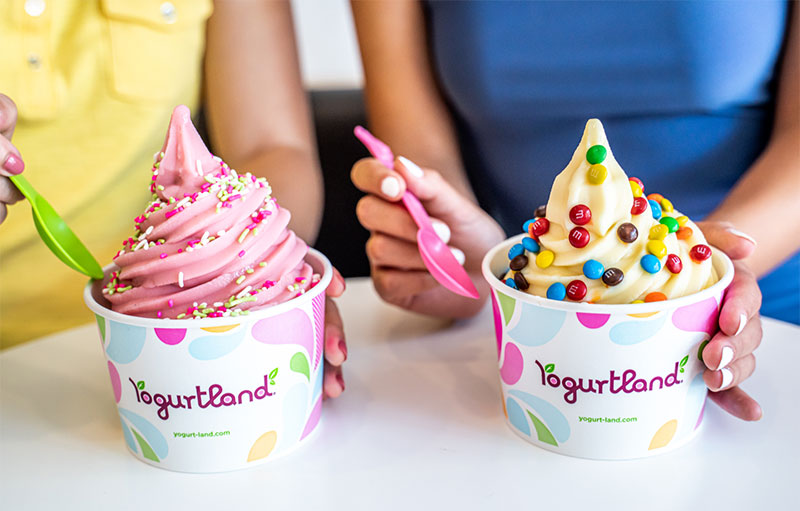


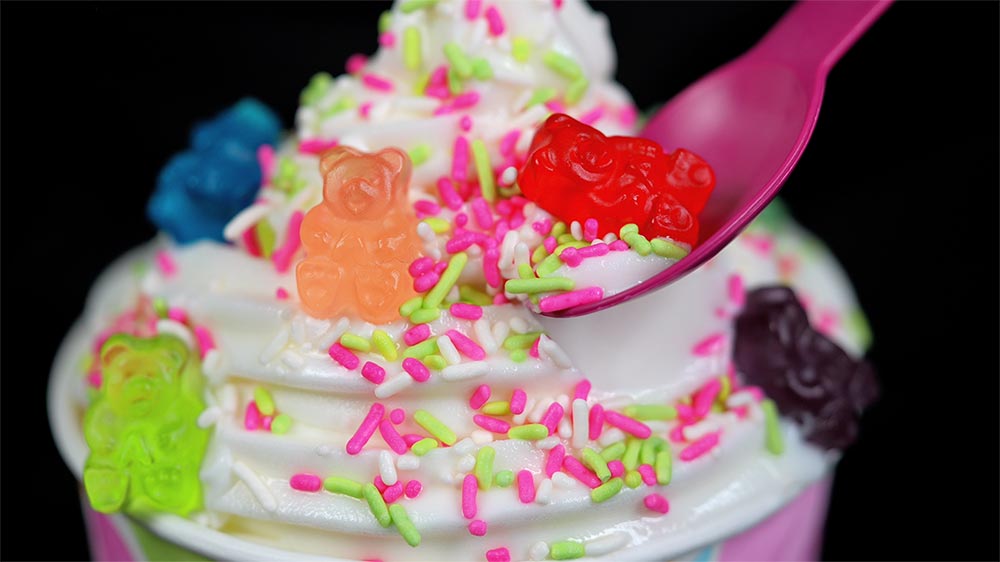
Plain Tart.
Plain Perfection.
Our best-selling, fan-favorite Plain Tart is beyond basic. Treat yourself to our beloved and iconic frozen yogurt.
 Watch Video
Order Now
Watch Video
Order Now

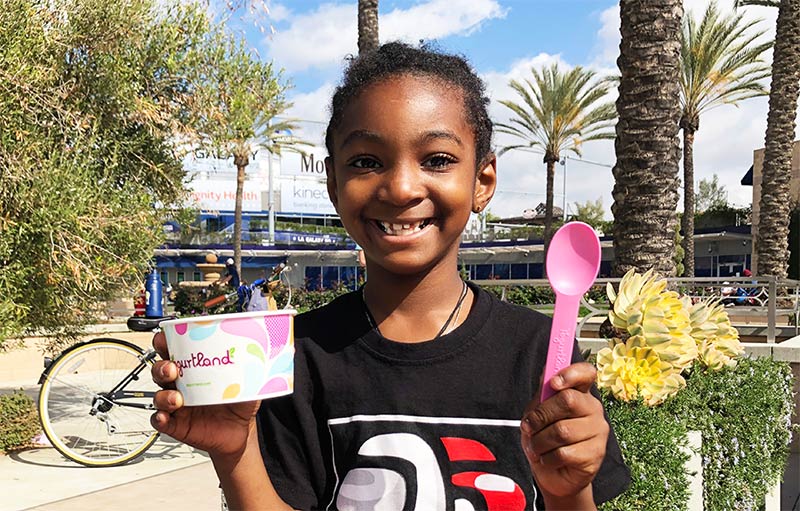
Cater Life's
Sweetest Moments
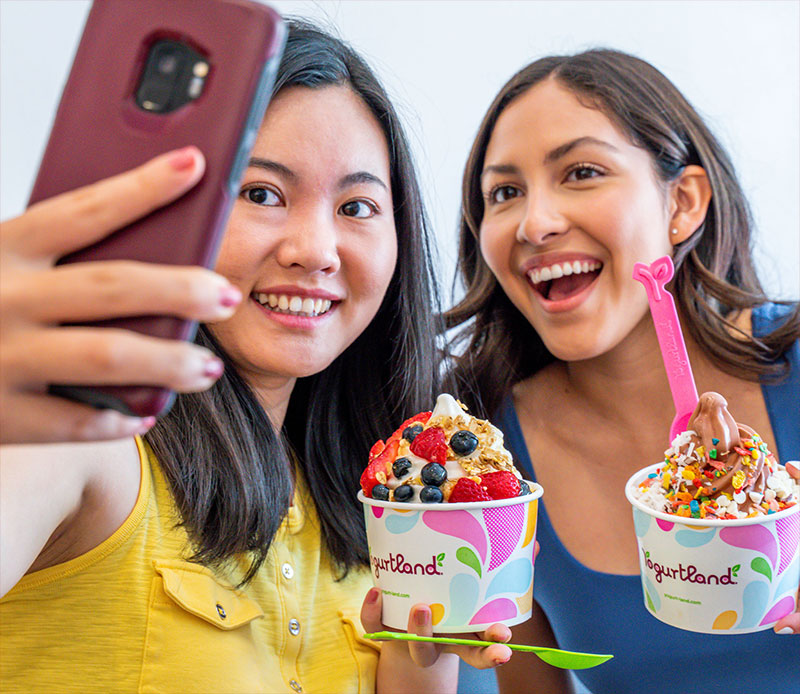
Yogurtland catering is a memorable option for your next party, event or meeting!
Watch Video

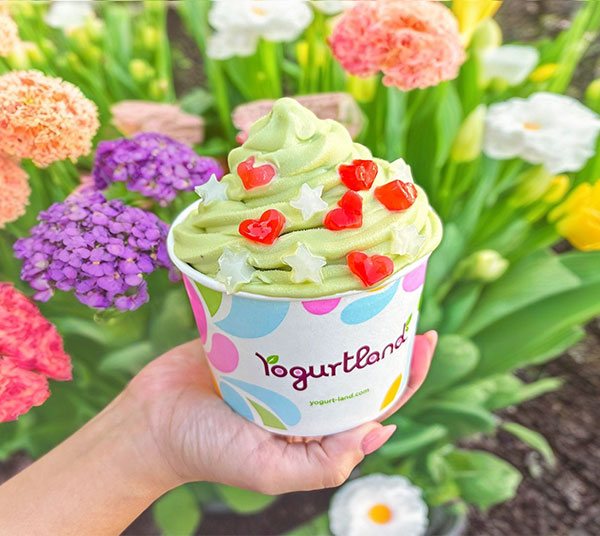
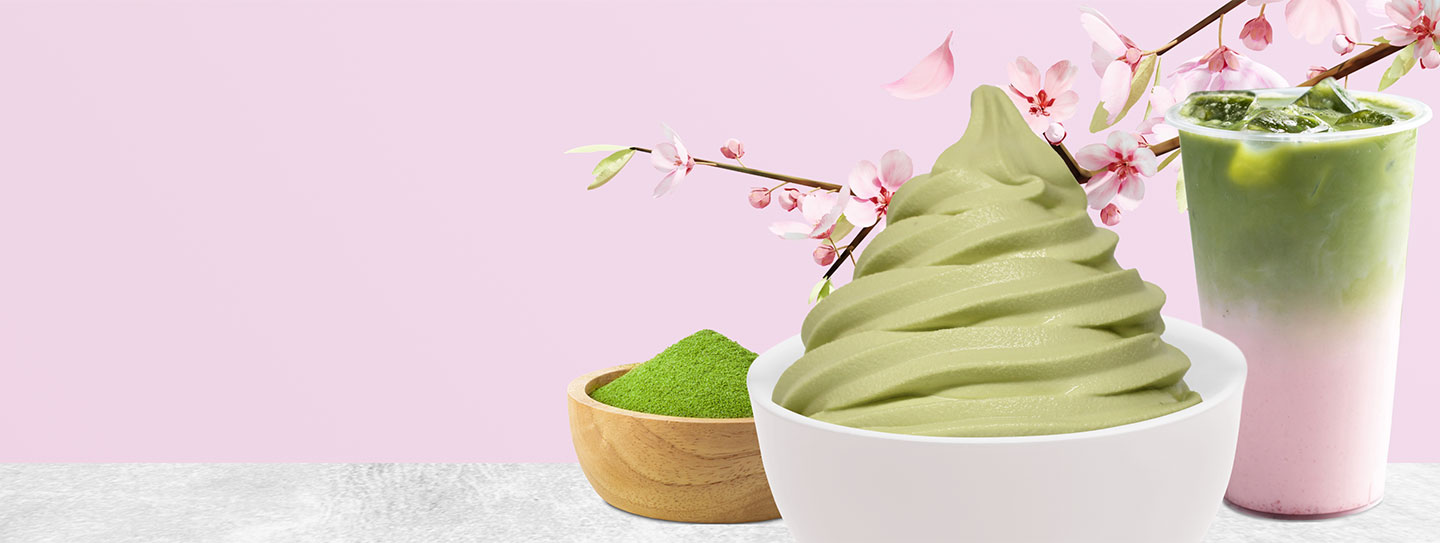
our delicious
handcrafted flavors
From tart to sweet, or plant-based to no sugar added. We have a flavor for everyone.